Sing-Box is a powerful network proxy wall-climbing tool. By using this tool, users can achieve scientific Internet access and break through geographical restrictions. This article will introduce the download, installation, configuration and use of Sing-Box in detail.
1. Download and installation
- Install from Google Play
On the Sing-Box’s official website, you can find the download link for the Google Play version. Through this link, you can download and install the latest version of the Sing-Box application directly in the Google Play store. - Download APK from the official website
If your device cannot access Google Play, or you want to install an APK file, you can download the APK installation package from the Sing-Box official website. After the download is complete, open the APK file and follow the prompts to complete the installation.
After the installation is complete, open the Sing-Box client and proceed with the following configuration.
2. Proxy subscription settings
The Sing-Box client needs a proxy subscription to achieve the wall-climbing function. If you don’t have a subscription yet, you can refer to the proxy recommendation and purchase it. Most proxy subscriptions support the Sing-Box format, but if your proxy doesn’t, don’t worry, you can use the online subscription conversion tool to convert the subscription format to a suitable format.
3. Add subscription
- Add proxy subscription
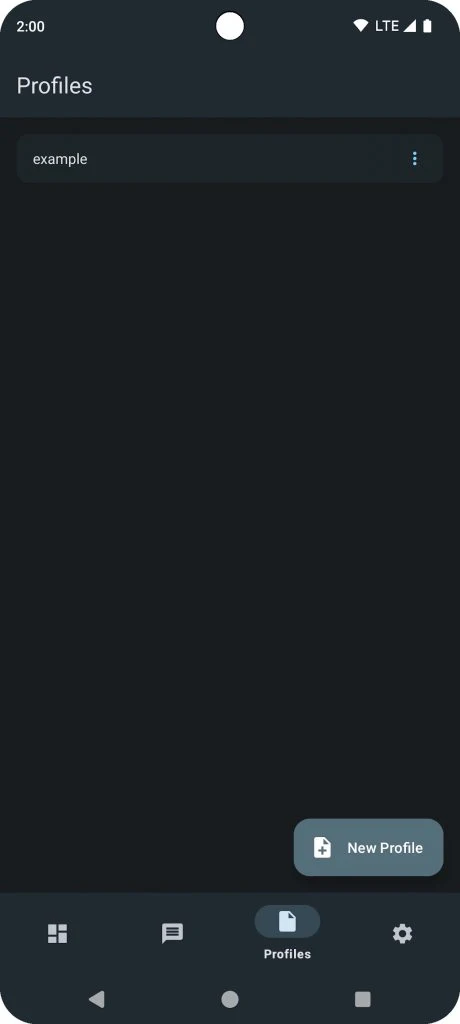
On the main interface of the Sing-Box application, click the “Profiles” tab at the bottom, and then click the “New Profile” button to start adding your proxy subscription information. - Enter subscription information
In the pop-up interface, enter the subscription information you purchased from the agent, make sure the subscription link is correct, and click Finish. - Return to the main interface
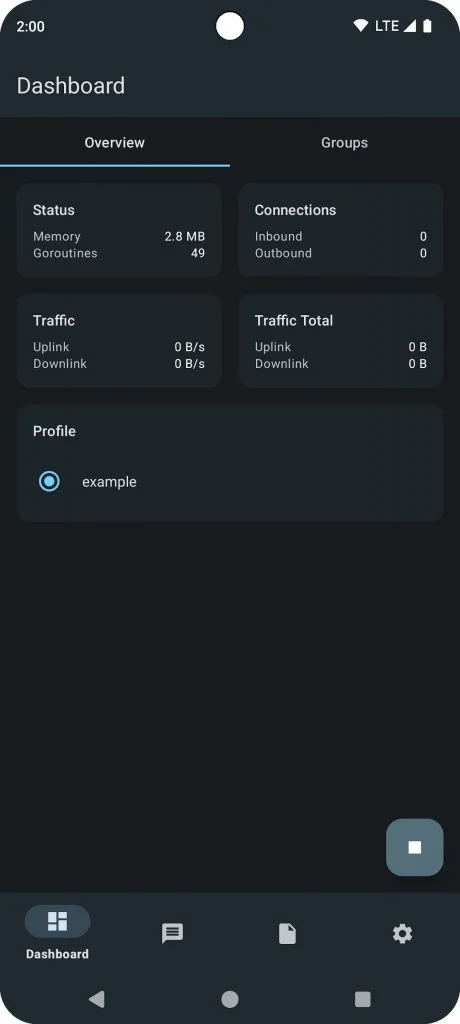
After adding the subscription, return to the Sing-Box main interface (Dashboard), and you will see that the subscription you just added has appeared in the list. The summary information about the subscription and the available nodes will be displayed above.
Fourth, select the node to enable
- Select the appropriate node
In the “Groups” section, you can select the appropriate node to enable. Select a node according to your needs and click Enable. - Start using the VPN function
After enabling the node, Sing-Box will start working to help you surf the Internet scientifically. At this point, your network traffic will be proxied through the selected node to access restricted websites or services.
V. Summary
Through this tutorial, you have successfully configured the Sing-Box client and completed the addition of subscriptions. Now, you can enjoy a freer network environment, break through various network restrictions, and surf the global Internet. If you encounter any problems during use, you can refer to the official documentation or seek help from the support team.

